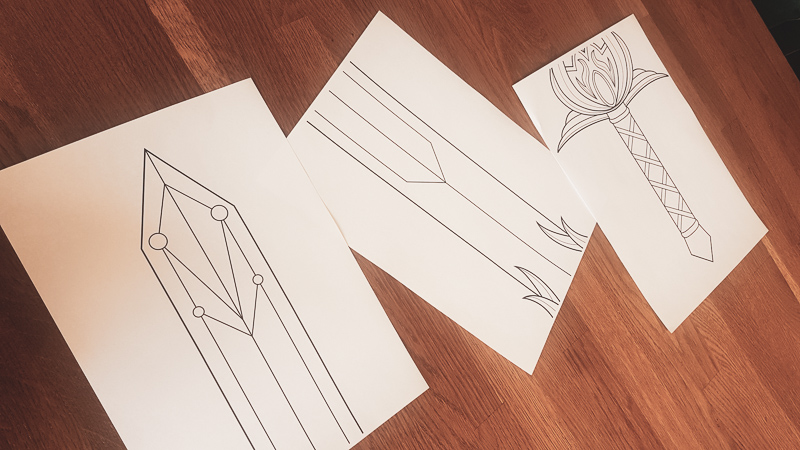
So you downloaded patterns from my shop. But how to use them?
After you buy a pattern (or E-book) from my shop, you’ll be able to download the files in PDF format. The patterns always come in two different paper sizes; A4 and Letter.
If you want to print a pattern, be sure to set your printer to ‘not scaling’. It should print at 100%. Also make sure you pick the right paper size to print. So in the USA, you would need ‘letter’ and in Europe you would need ‘A4’. If in doubt, check what paper is in your printer.
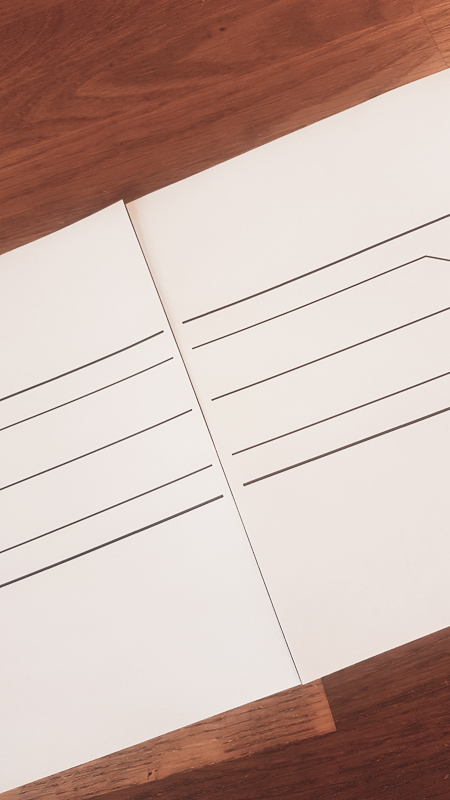
After you printed the pages you want, puzzle them all together. You can use the ‘paper layout’ image that is on the product page to help figure out which piece paper goes where. If you got a big pattern, that paper layout image can be a great help!
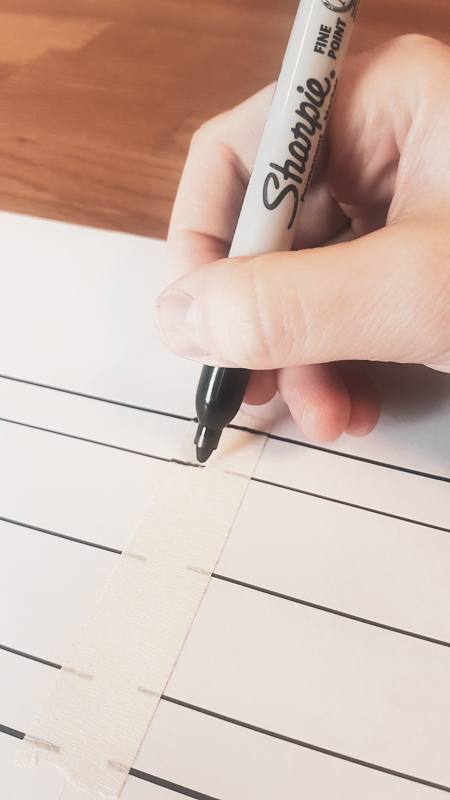
Then, use some tape to connect the pieces of paper together. Fill in the blanks where the printer didn’t print with a sharpie, pen or pencil.
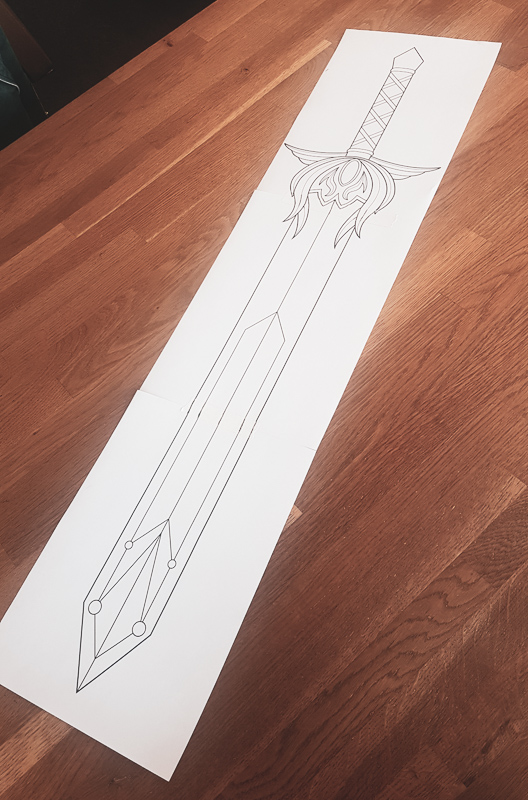
Now you have your pattern in life size! You are almost ready to start using to make your own cosplay project.
Now use some scissors or a knife and cutting board to cut out all the pattern pieces.
Props are always drawn as a ‘flat’ view of the prop. So you will need to seperate it into smaller pieces yourself if you want to build it up out of several layers.
For sewing patterns you will need to add your own preferred seam allowance because the patterns are drawn without it.
All patterns are the exact patterns that I used for my own costumes. So that means they are in my own size. I’m a M/L size mostly. If you want to use the patterns for another size, you can adjust the pattern pieces. I always suggest making a mockup first and then see if you need to adjust any of the pattern pieces to make it fit perfectly for you.
And the most important part of it all:
HAVE FUN CRAFTING!!
And share your work with me by tagging @Pretzlcosplay on social media!